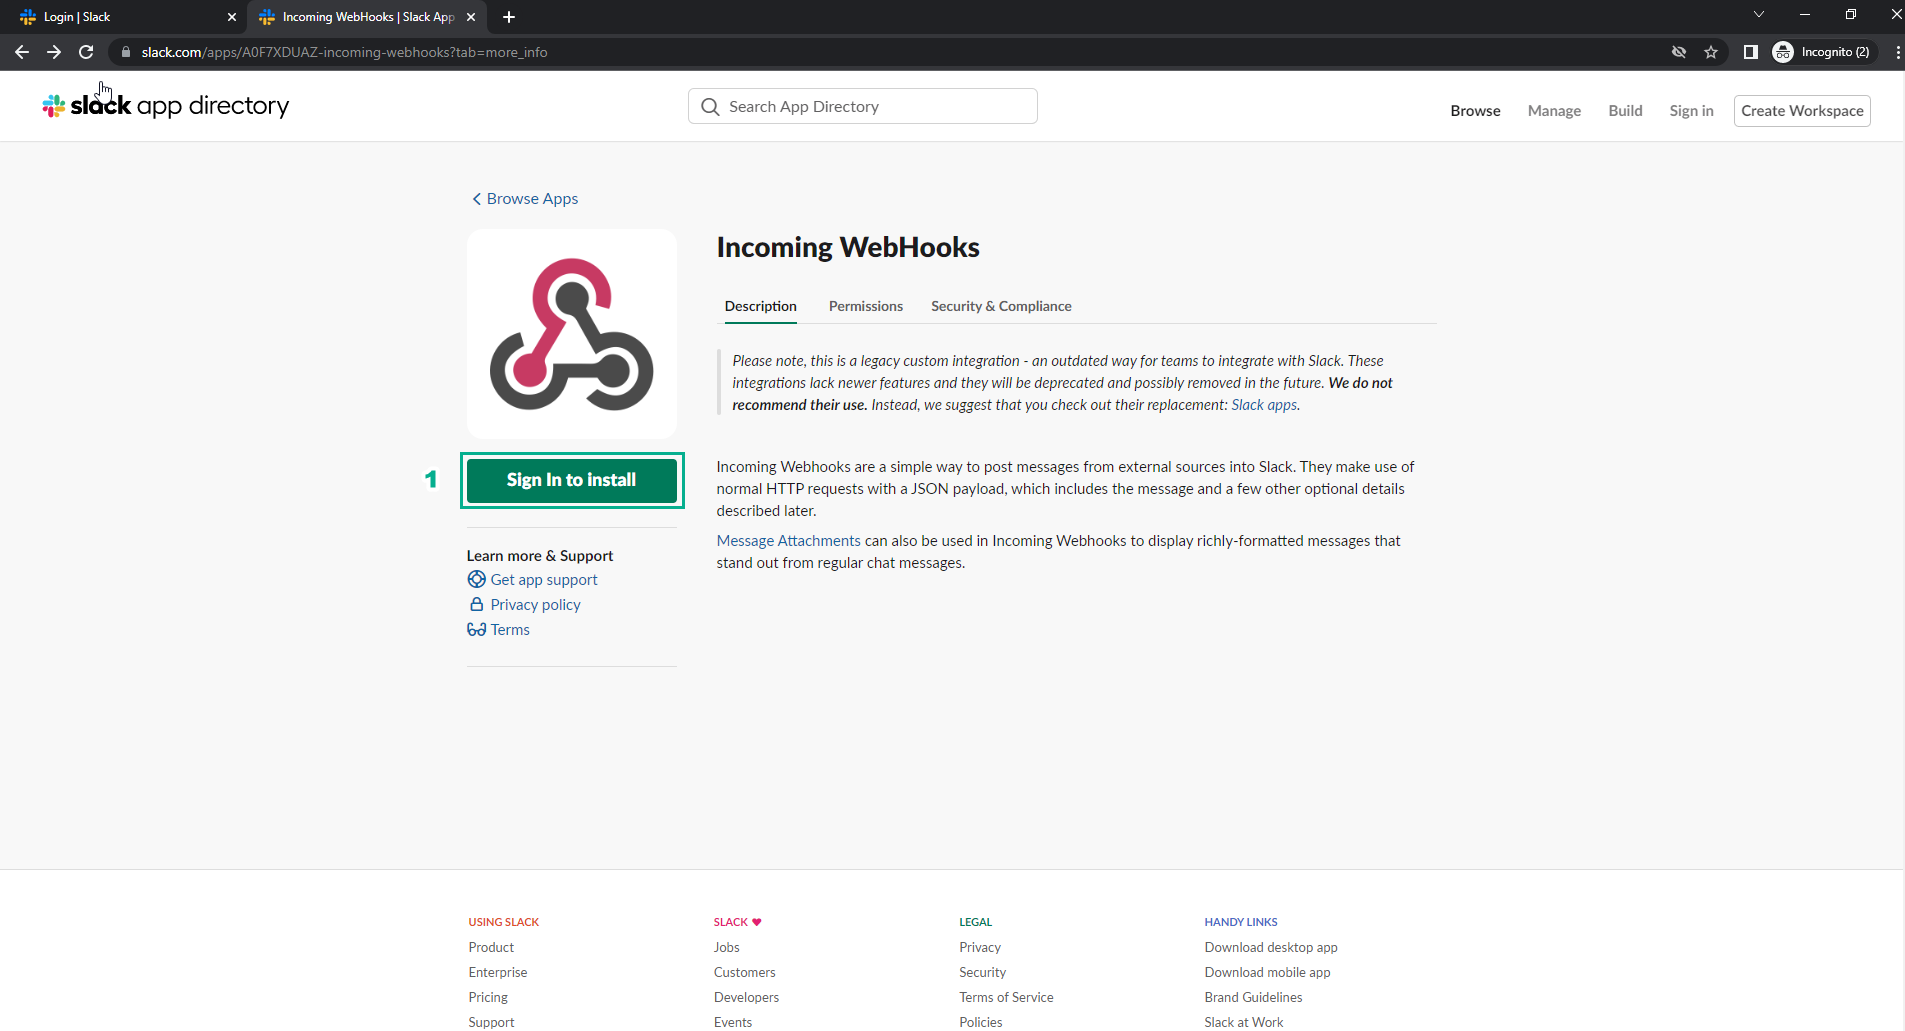
Incoming Webhooks Slack
Guide to setting up Incoming Webhooks on Slack
- Log in to Slack.com via your browser.
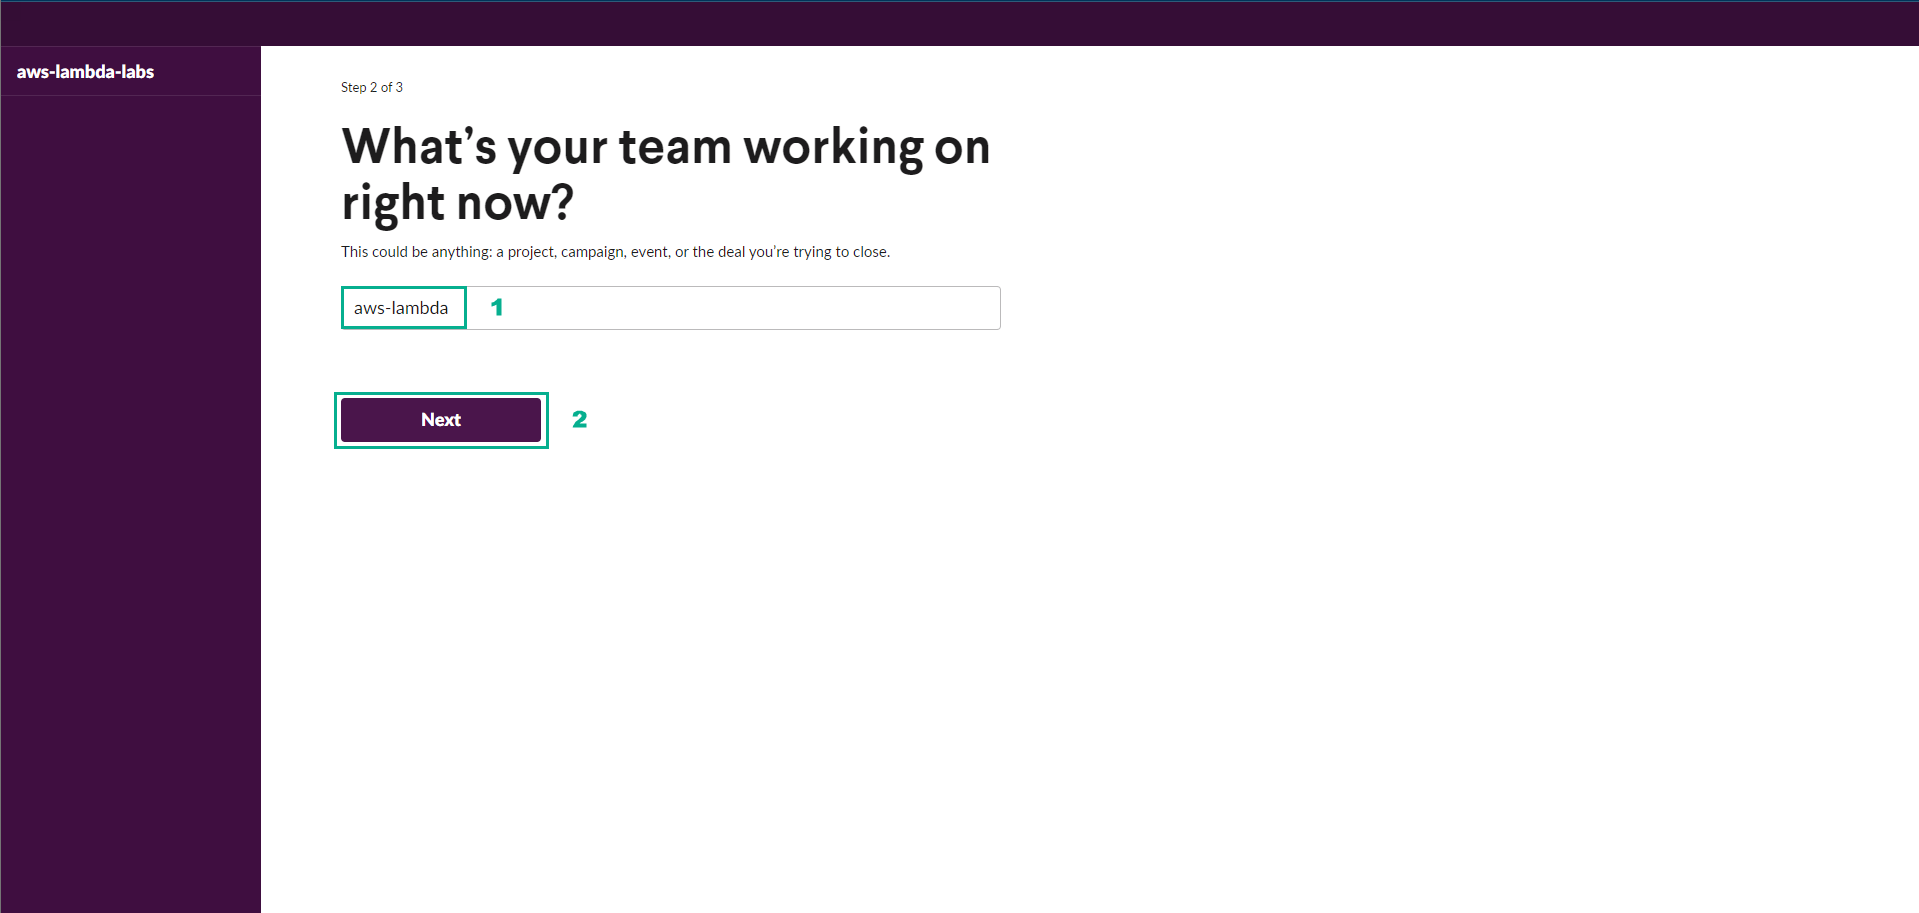
- After successfully logging in, create a new Workspace by clicking Create Another Workspace and naming it
aws-lambda-labs.

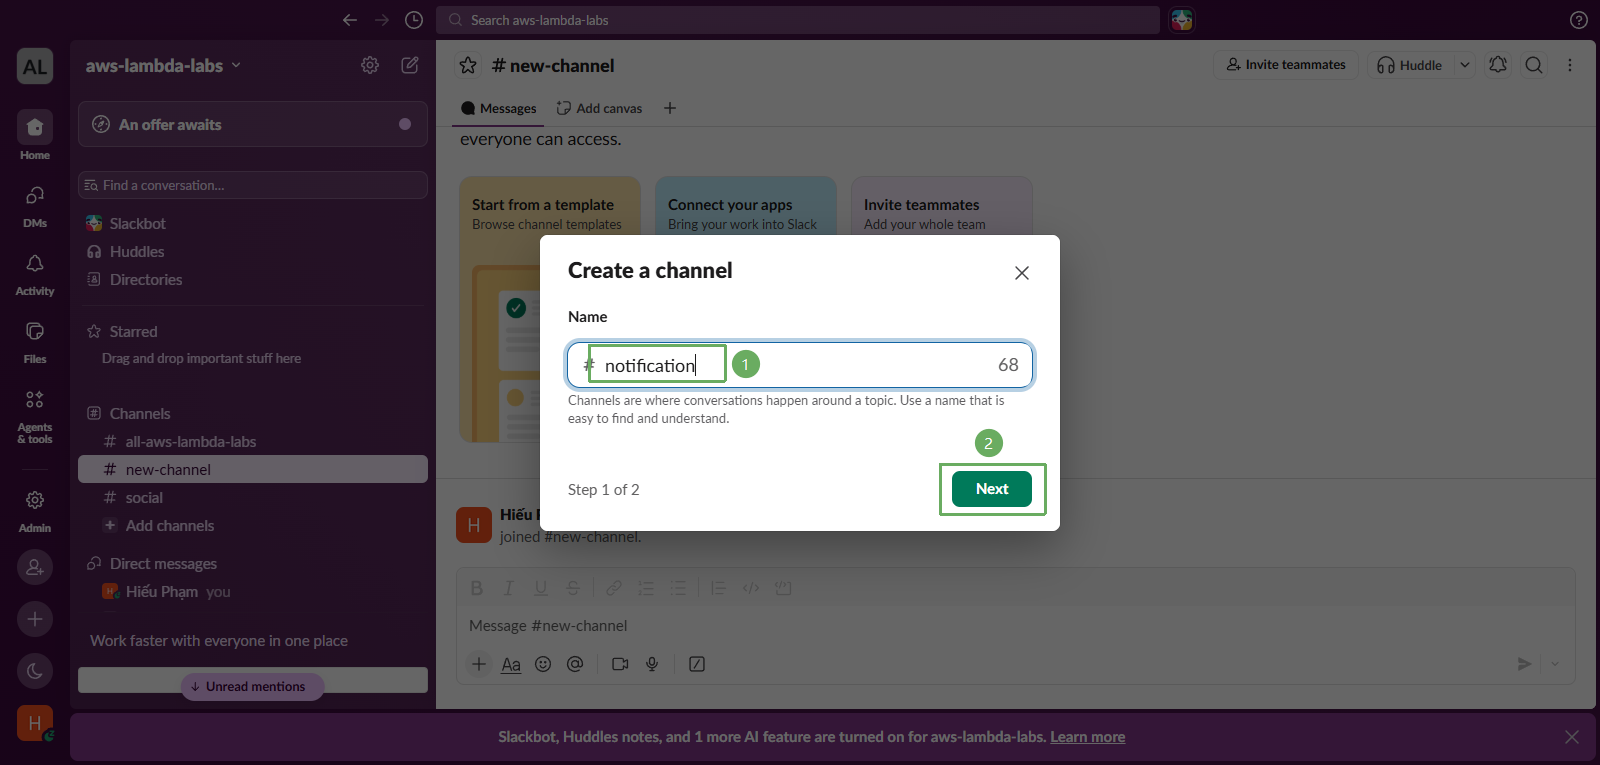
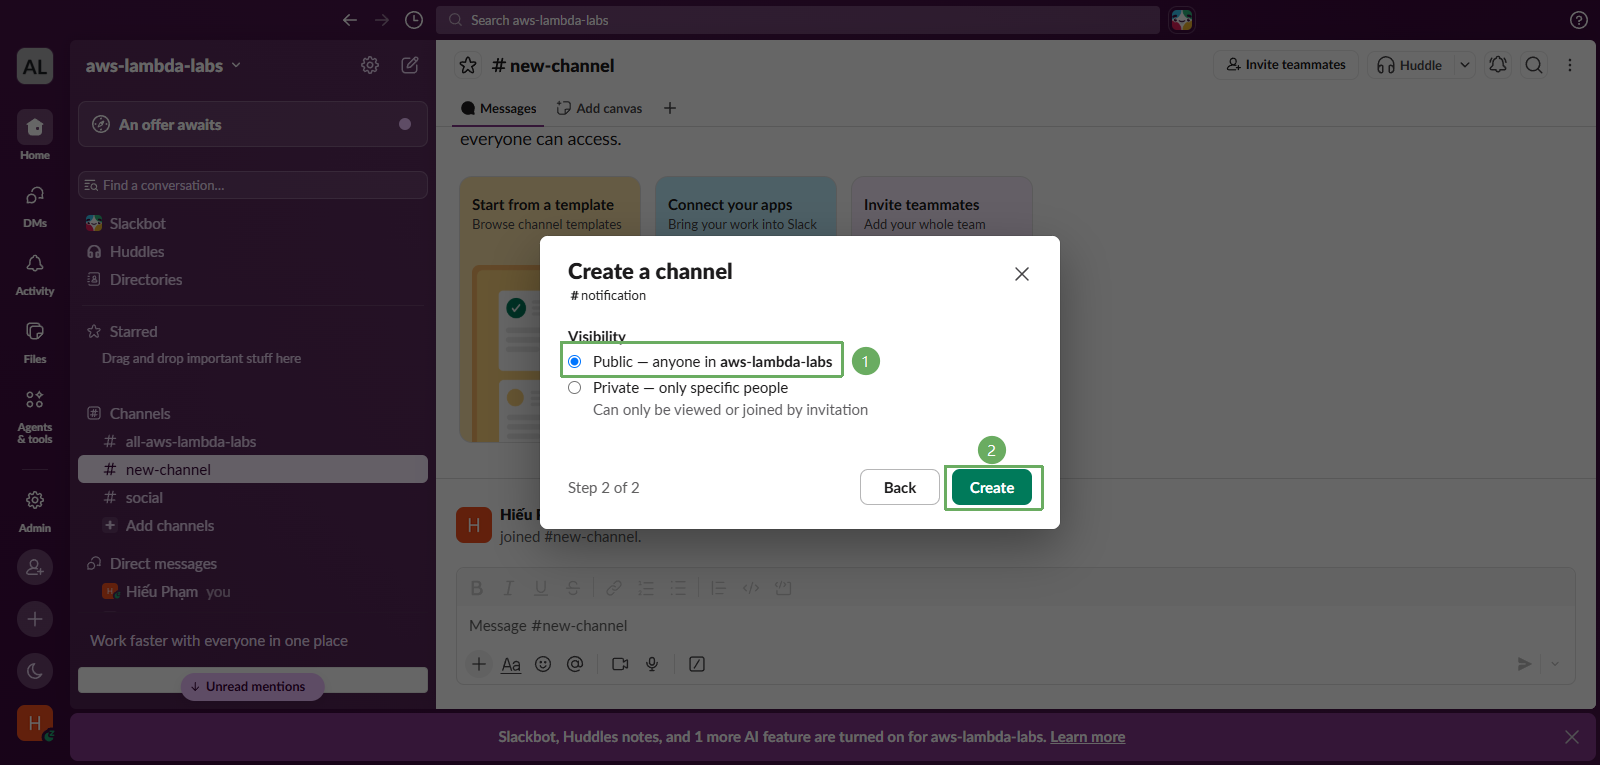
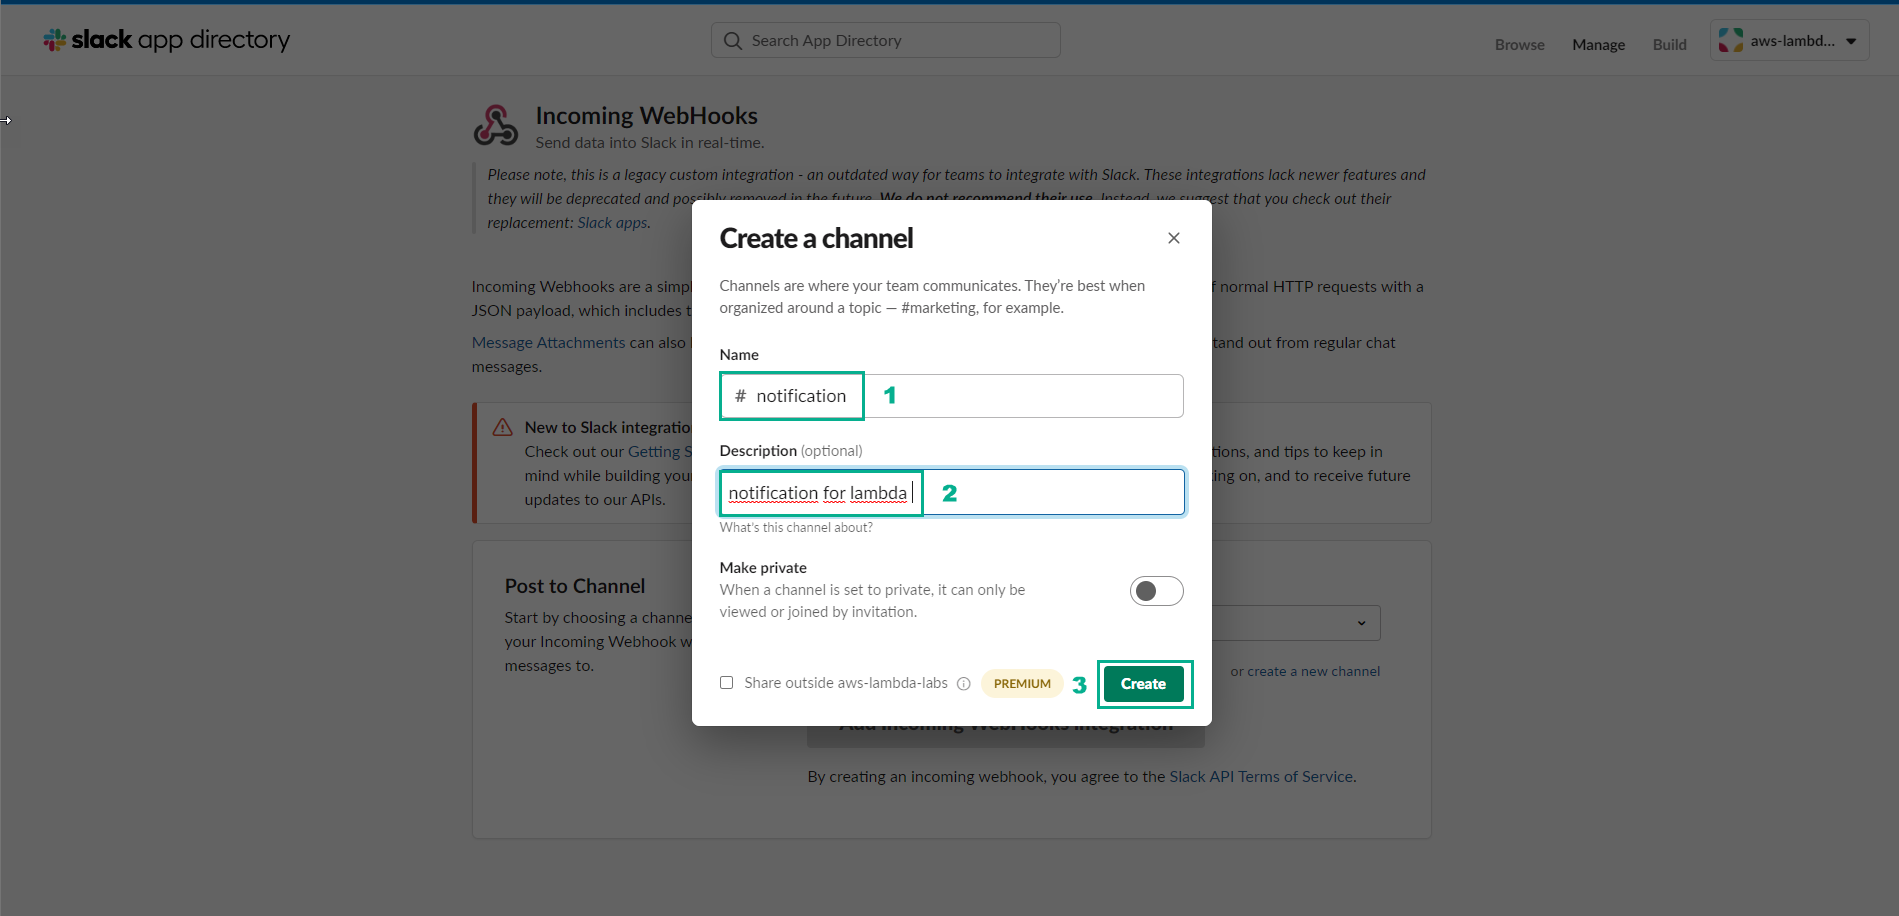
In the newly created Workspace, create a new channel:
- Name: enter
notificationand click Next - Select Public - anyone in aws-lambda-labs
- Click Create.
- Name: enter

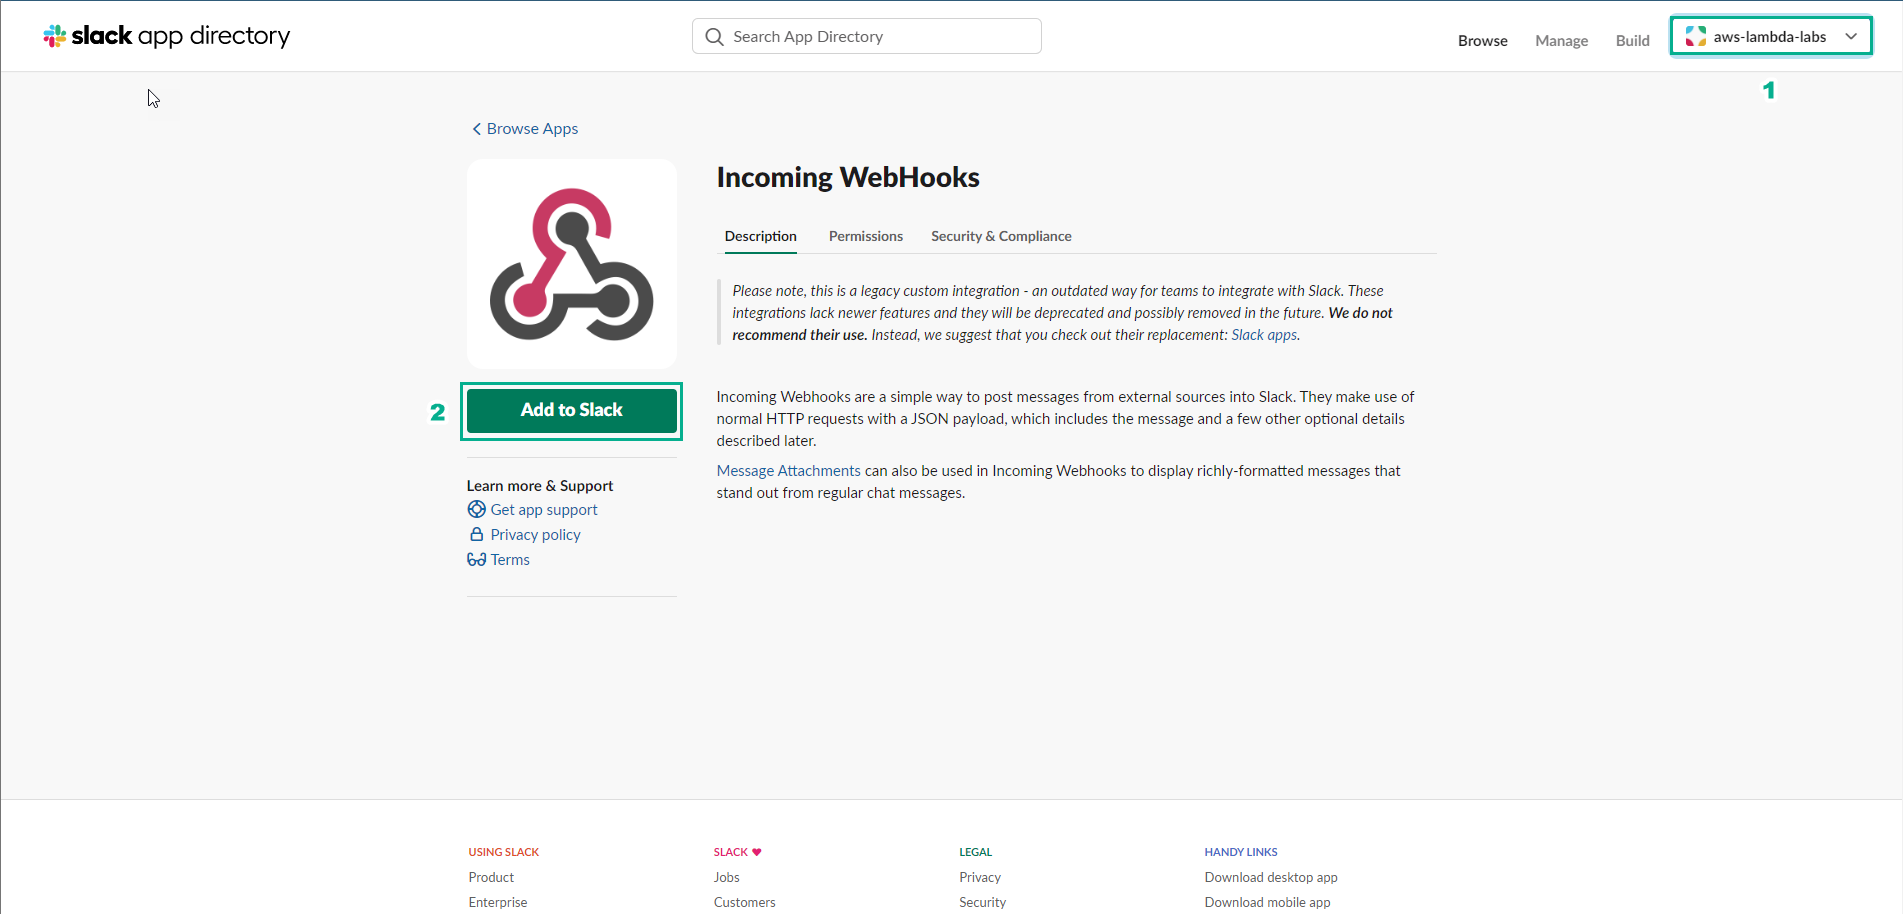
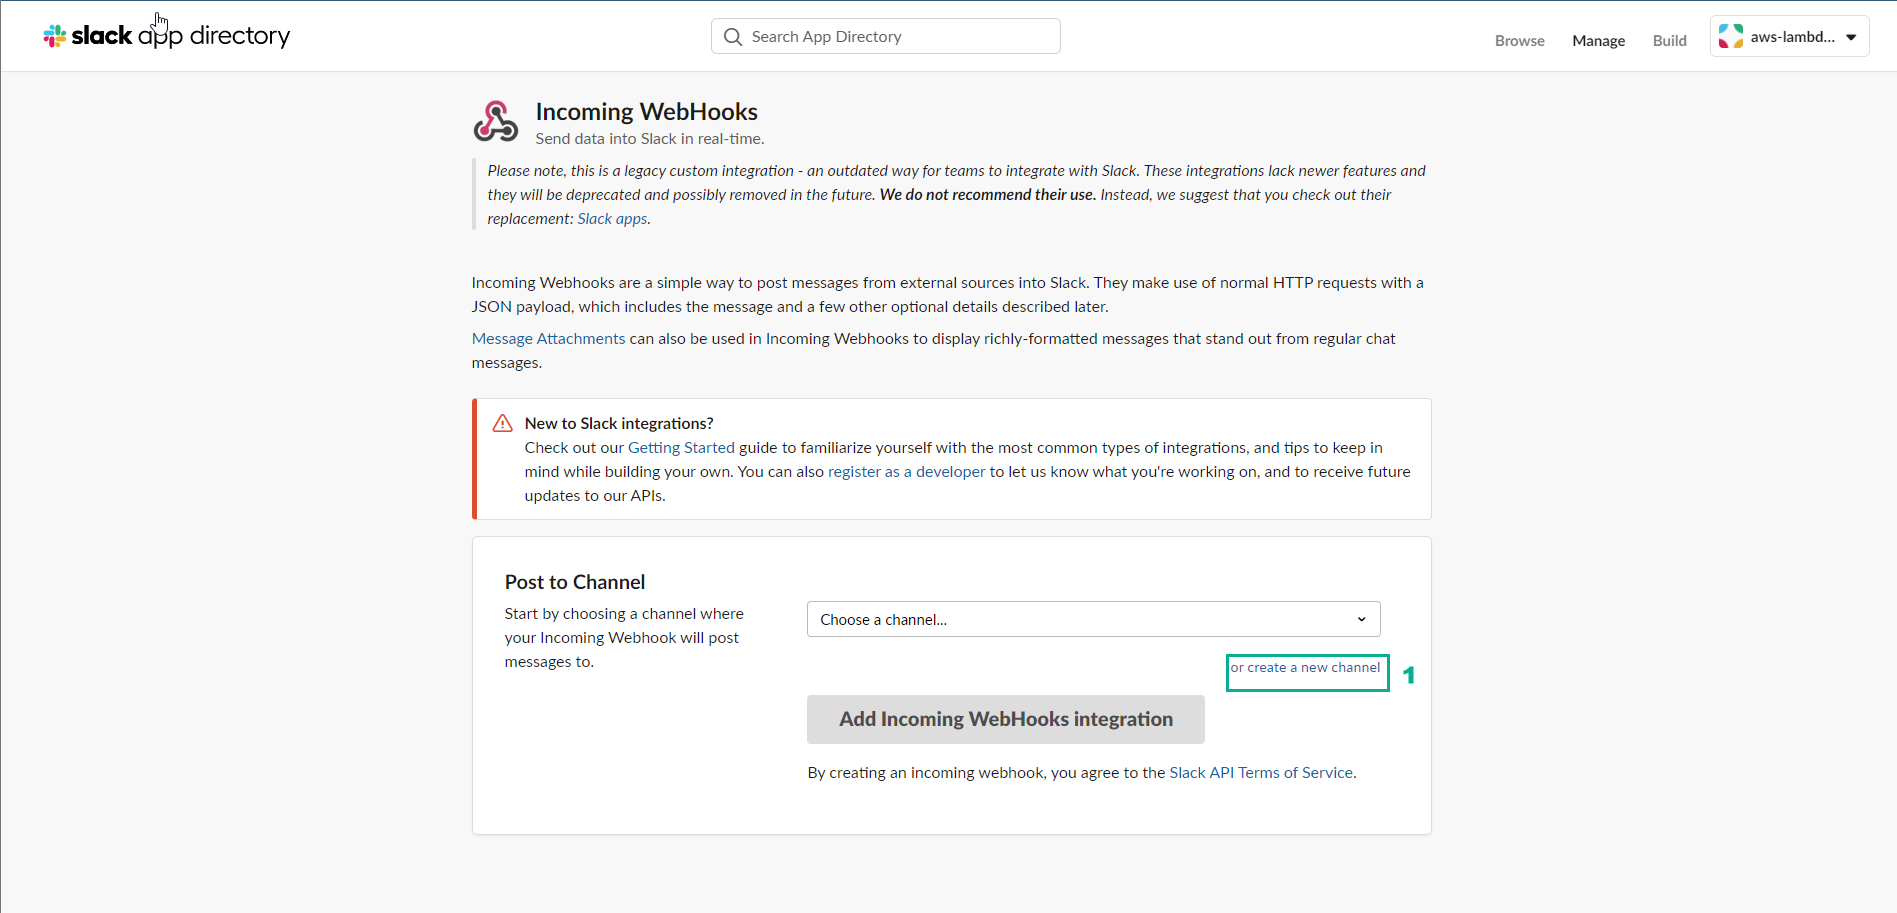
Open a new tab in your browser and go to Slack API - Your Apps.
Click the Create New App button.
- Select From scratch (or Blank app) and click Continue.

Fill in the application information:
- App Name: enter
Lambda-Notifier(or any name you prefer). - Pick a workspace to develop your app in: select the
aws-lambda-labsworkspace you just created. - Click Create App.
- App Name: enter
After the App is created, you will be taken to the configuration page. In the left menu column, find and click on Incoming Webhooks.
At the Activate Incoming Webhooks row, toggle the switch from Off to On.
- Scroll down to the bottom of the page and click the Add New Webhook to Workspace button.
- Slack will ask you which channel this App should post to. Select the
#notificationchannel created in the previous step and click Allow.
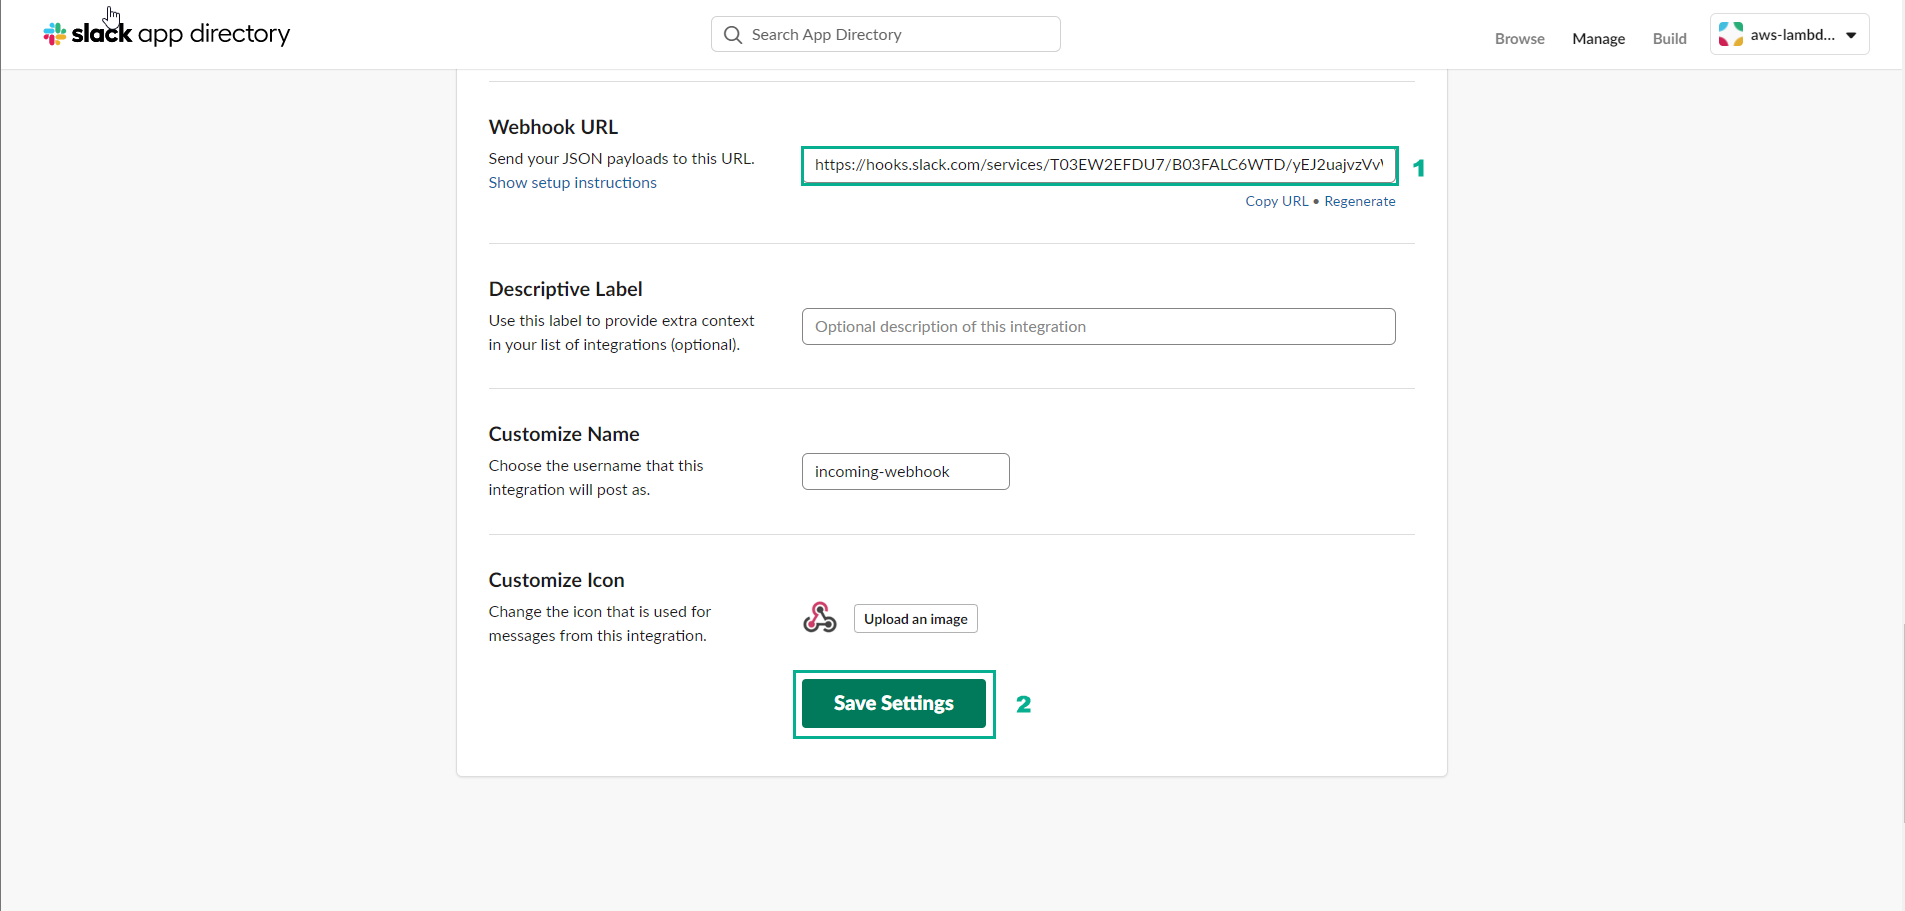
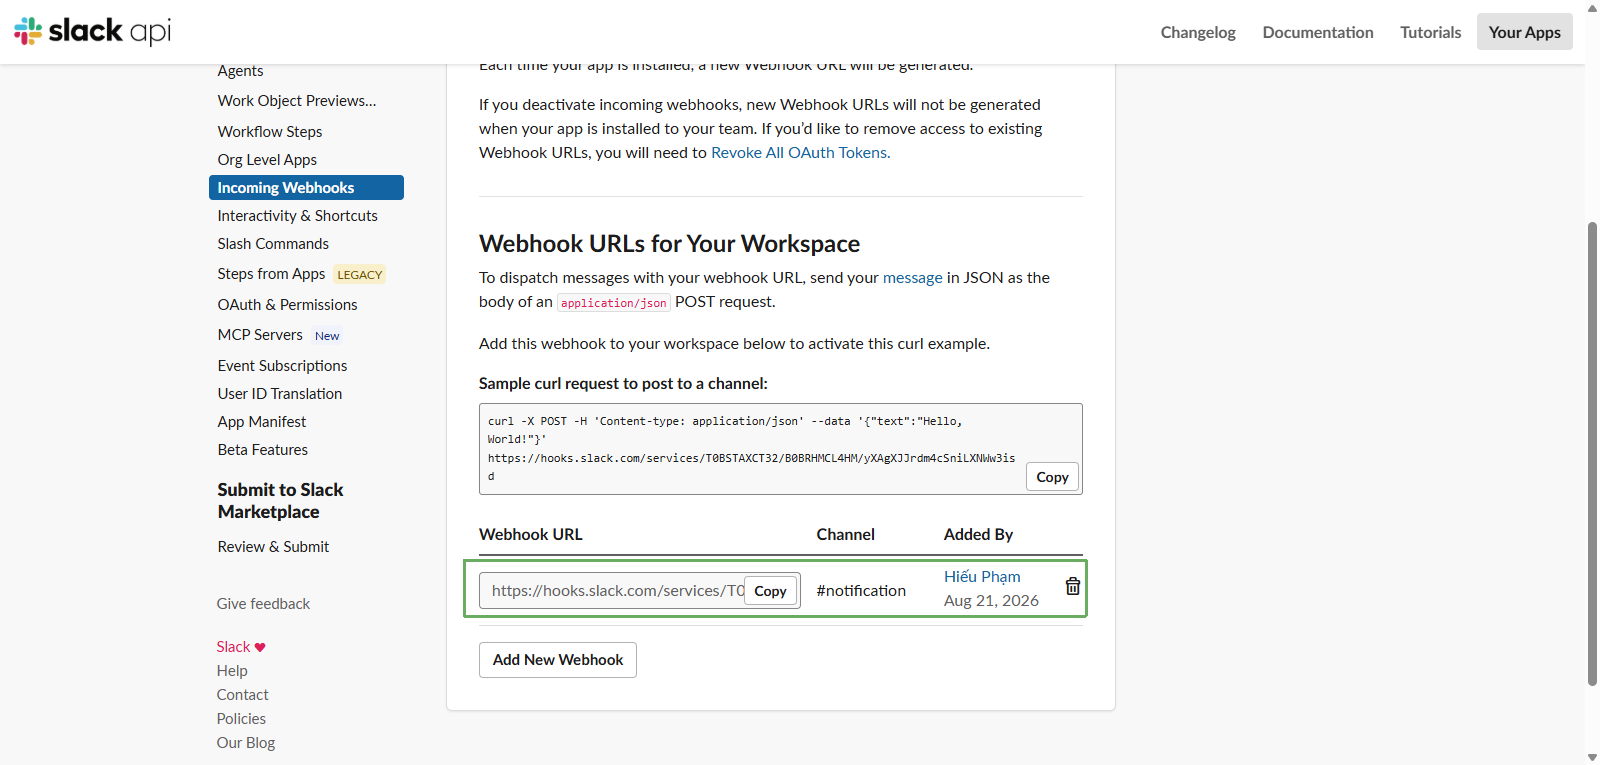
- You will be redirected back to the previous page. Now, under the Webhook URLs for Your Workspace section, a link starting with
https://hooks.slack.com/services/...will appear.
Click the Copy button and save this Webhook URL. You will need to use it in the next steps to configure AWS Lambda to send notifications to Slack.